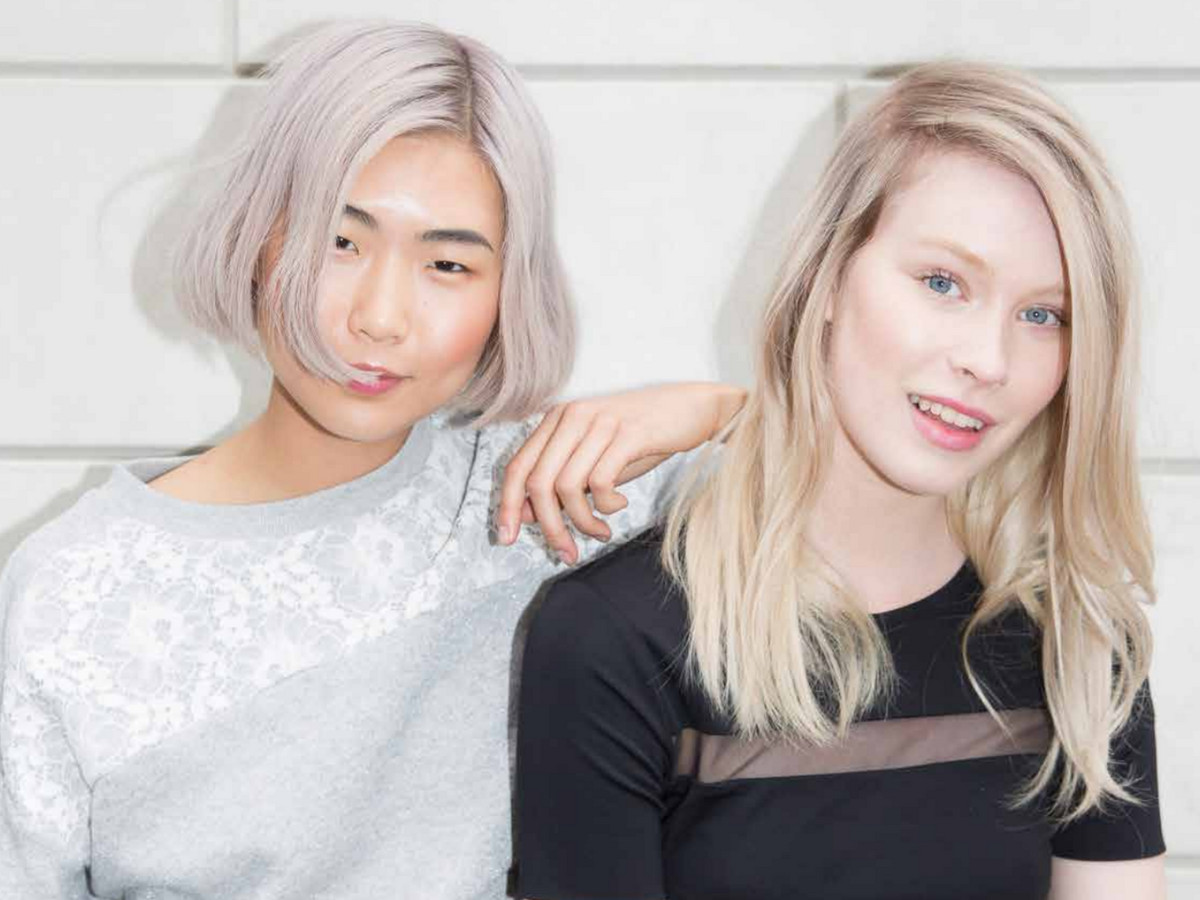
Do you plan to lighten your hair, or are you simply curious to learn how lightening works? You are in the right place! In this article you will learn everything you have ever wanted to know about lightening your hair.
Do you love accentuating your blond hair? Are you keen on vivid or pastel hair colours? Are you a brunette and want to turn blonde? Lightening your hair will most probably be the only way of reaching your dream. Yet, it is not so easy to get a really beautiful blond colour, and amateurish intervention can damage you hair forever. This is why you should better entrust you hair to a professional, if possible. An experienced hairdresser knows exactly how to mix and apply a hair lightener, what colour developer to choose, and they also see how much you hair is able to bear. If you still have no choice, but to do the hair lightening at home, read carefully, so that it does not end in a disaster.
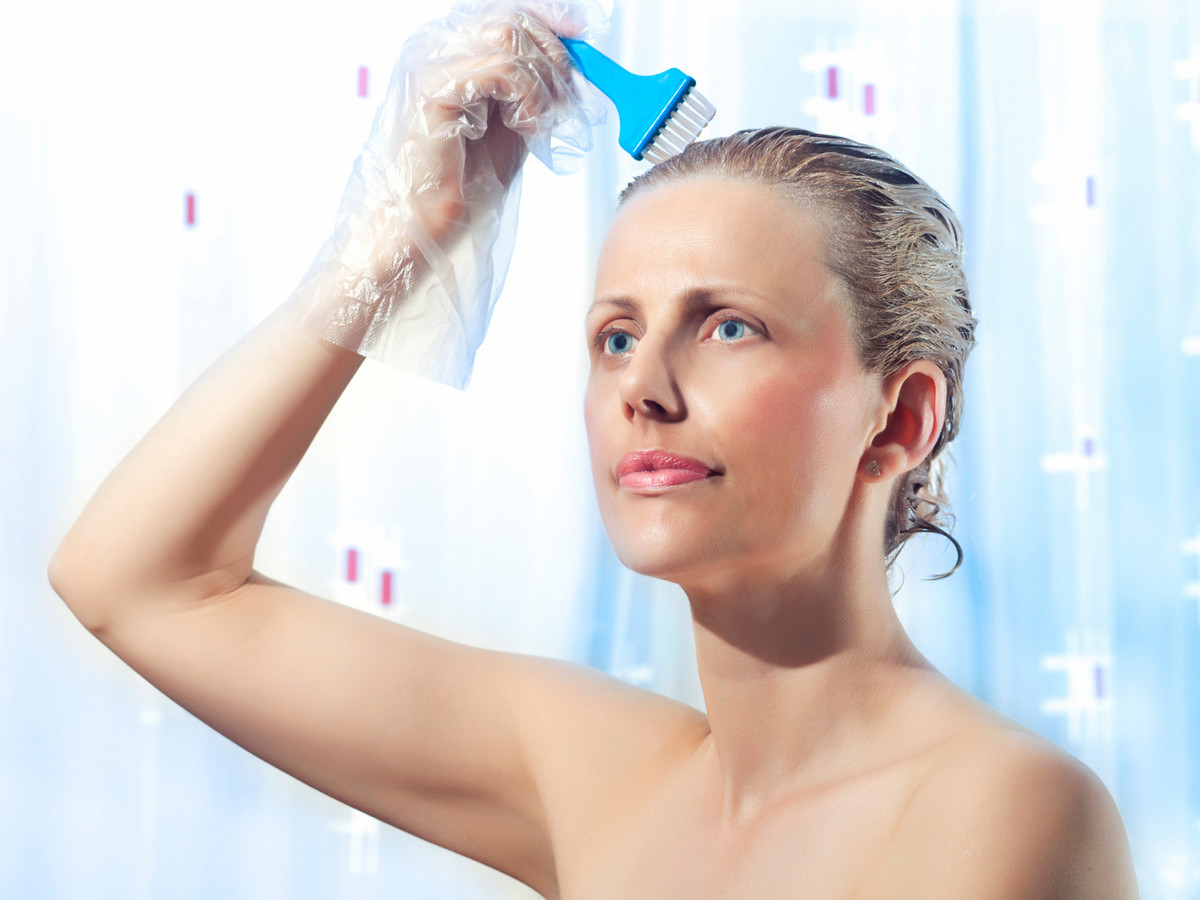
Important! Before dyeing, we recommend reading our previous articles again:
- Types of Professional Hair Colors - Choose Right!
- Hair Color Numbering - Choose the Right Shade!
- How to Choose Right Volume Developer for Hair Color?
- How to Dye Your Hair at Home?
- 10 Common Mistakes You're Making When Dyeing Hair
What Is Hair Lightening?
The process of hair lightening or bleaching uses special lightening products (powders, creams, etc.) blended with a developer lifting you hair by up to 8 tones. Be careful, lightening and bleaching is not the same! There is a significant difference between these two processes (see below). In both cases the process is the same: after applying the bleaching solution, the cuticles open, so the product can easily penetrate the cortex where natural pigments dissolve due to oxidation (removing the colour from the hair), lightening the hair. The result is permanent, which means that your hair remains light, while growing gradually out. The hair, as well as hair bonds, is significantly damaged, which is why many professionals use bond protecting additives. These special products (Olaplex as the most famous) protect the existing bonds against serious damage and also repair and renew the already damaged bonds.
Colouring is a bit different. In a single step, a hair is bleached and a new colour added, i.e. the natural hair pigment is removed in the first stage and then replaced with artificially created pigments. Compared to hair bleaching products, you can achieve any shade with a hair colour, but you can only change the tone by a maximum of 3-4 levels (with the exception of special high-lift hair colours).
Lightening, Bleaching & Colouring. What Is the Difference?
Pay attention to the main differences between colouring, lightening and bleaching:
-
Lightening - used to lighten natural hair. Lightening can be defined as a process of artificial reduction and dissolution of pigment in hair.
-
Bleaching - allows lightening already coloured hair. This technique is to be used if the customer wishes to change the shade of their hair (already coloured) from a dark one to a lighter one. It is not possible to bleach hair which have been already coloured using a permanent hair colour (rule of thumb: one colour does not remove another colour).
-
Colouring - bleaches and colours hair at the same time. However, if we work with hair that has been chemically dyed before, we must keep in mind that the end result will never be lighter than the current shade, because the color itself will not lighten in this case (the color cannot be lightened with color). Therefore, the end result will always be at the same depth or darker.
Preparation of Dyeing Tools
Before you start with dyeing, it's a good idea to check if you have all the necessary hairdressing tools for colouring:
- Special bleaching powder or high-lifting color (e.g. Igora Royal Highlifts, Koleston Perfect Me+ Special Blonde, Matrix SoColor Ultra Blonde, Majirel High-Lift)
- Developer (remember that developer for professional colors is always sold separately!)
- Protective gloves and something to protect clothes (old towel/t-shirt)
- Mixing bowl and hair dye brush
- Comb for even color distribution
- Watches or kitchen timer
- Shampoo + regeneration hair treatments
Colour Or Bleaching Powder?
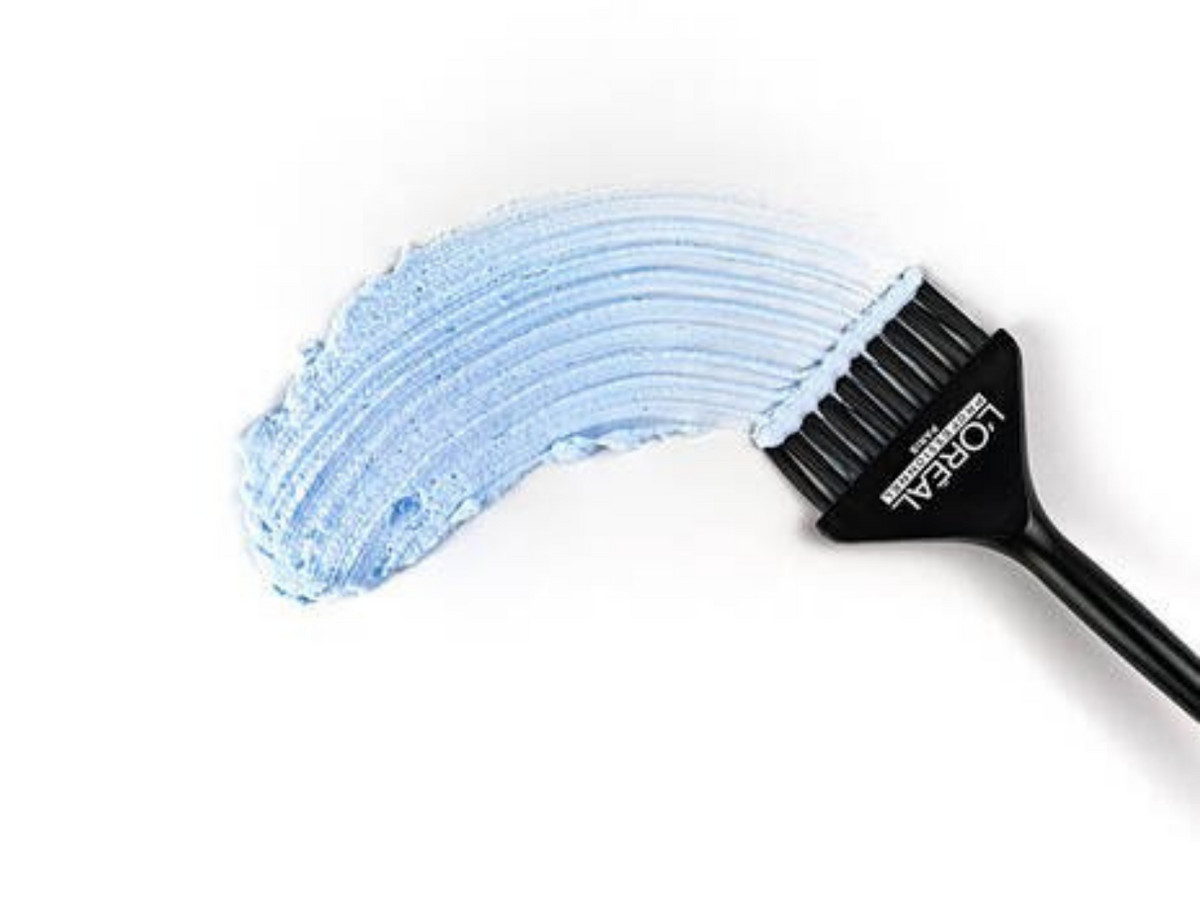
There are various bleaching products. Powder, cream or colour. Make your decision based on the effect you want to achieve and by how many levels you want to lighten your hair.
-
Bleaching powder - If you yearn for an intense lift from dark to blonde hair, you will probably need to use a lightening powder which is much stronger and can make your hair up to 8 levels lighter in just one application. The downside is that powders do not regulate the tone. For this reason, many professionals use a toner to enhance the tone. It is the best option for colour-treated hair, providing maximum guarantee during lightening and a high level of neutralisation of unwanted warm tones. If you have coloured your hair brown and now you want a lighter brown colour, your hairdresser will probably use a lightening powder, which breaks down the artificial pigments and then colours your hair light brown.
-
Lightening cream - unlike the lightening powders, creams are gentler to your hair and scalp due to their more nutritious composition. However, one of the key drawbacks of using cream lighteners is that they do not generally have such a strong ability to neutralise warm tones. They are ideal for uncoloured and lighter hair.
-
High-lift hair colours - these are permanent dyes intended for a permanent lightening of hair to a desired shade. Basically, they are hybrids between colours and lighteners. Unlike lightening creams and powders, they also contain pigment which helps to regulate the tone. They are ideal for achieving an interesting blonde tone (for example a golden tone, copper shade). Due to a lower concentration of hydrogen peroxide it is the gentlest way of lightening your hair, but not as effective, if you have dark hair. If you want predictable results, use these types of colours only on uncoloured hair. They are not suitable for lightening already coloured hair or covering white hair.
Developer Choosing
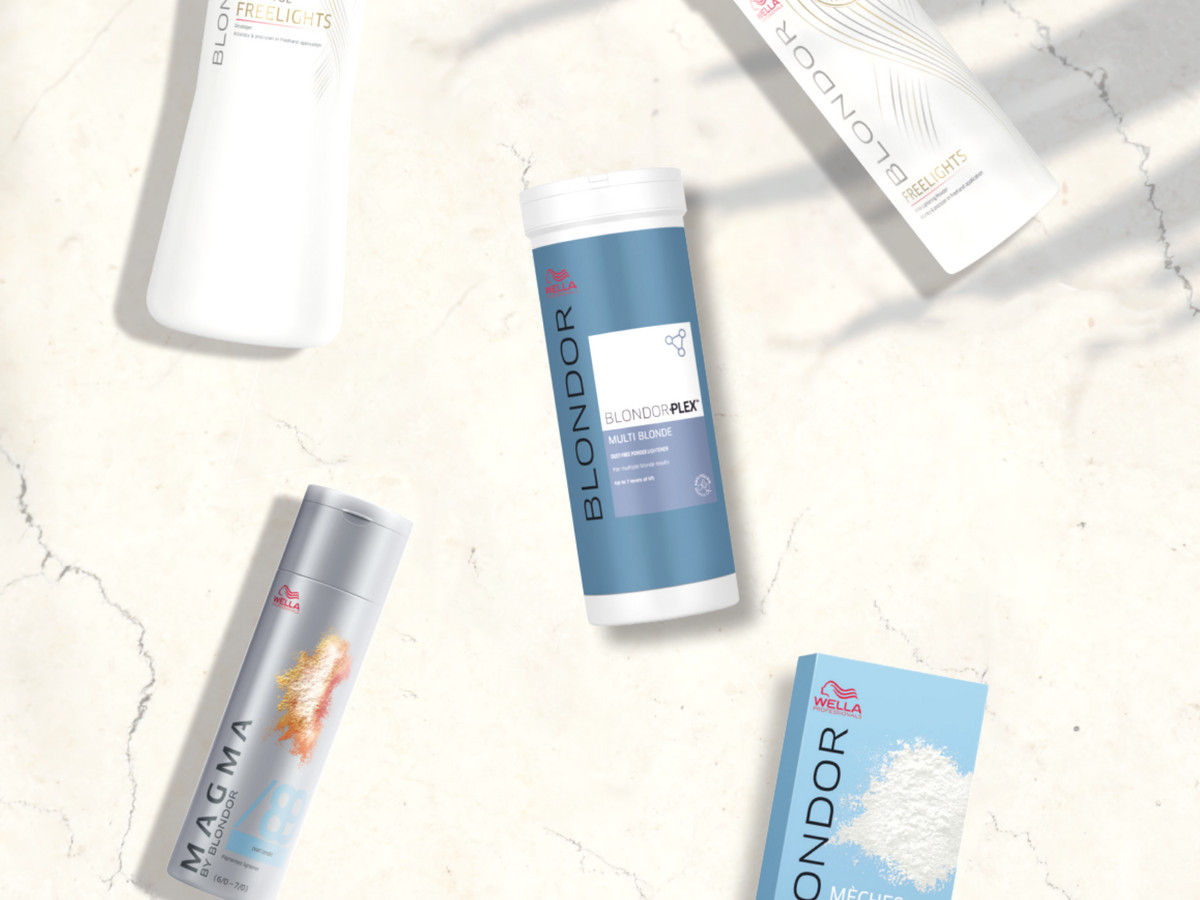
For every colour you will also need a developer. Before choosing a developer, you have to know by how many levels you want to lighten your hair. This is because the level of lift is closely connected to the concentration of hydrogen peroxide used. In general: The higher the percentage, the faster the bleaching, but the greater the damage to the hair too! Most stylists thus recommend using a 3% or 6% developer. The lightening process will take longer, but it won’t be so harmful as when using stronger concentrations of peroxide. If in doubt, choose the 6% developer, which is the most used one and the best option in terms of efficiency and gentle treatment. Remember: the strongest developer you can apply to your scalp is 9%.
For more details about choosing the right developer please read → What developer (peroxide) to choose for a hair colour?
Hair Bleaching Step by Step
Let’s see how it works! Now, we will show you what to do when bleaching your hair. But remember, every lightener/technique can follow slightly different steps, which is why you should always carefully read and follow the manufacturer’s instructions for use. Better have it at hand during the whole period of colouring. Do not forget the skin allergy test.
Mixing
- Mix the lightening agent, usually powder, with the developer in a recommended ratio (usually 1:2).
- First, pour the lightening powder to a plastic cup and add the developer.
- Mix well until you get a smooth, homogeneous mixture with no lumps. It is best to mix it with a whisk. If the mixture is not mixed well, what can happen is that some part of the hair can be covered only with the developer while some part only with the lightener. If separate, these two ingredients will not lighten you hair.
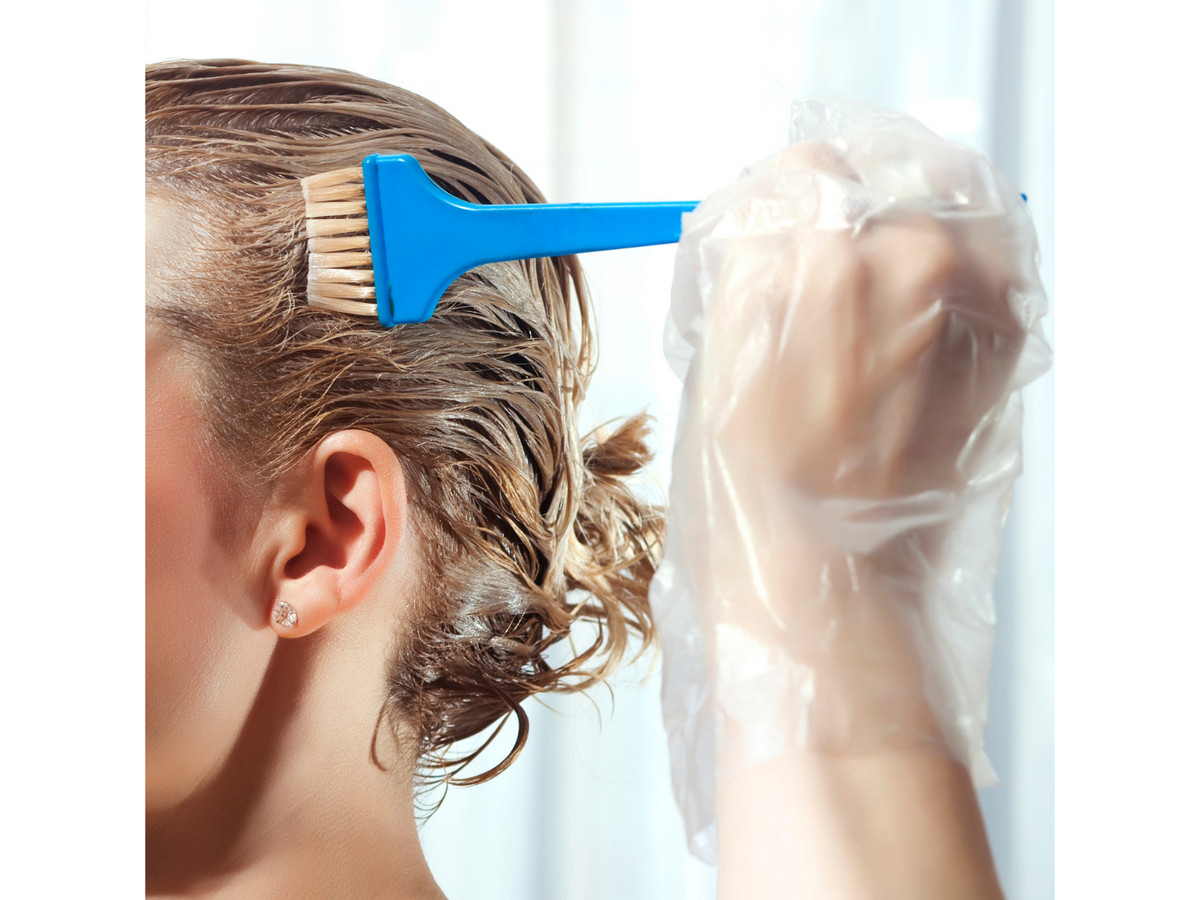
- Immediately after mixing, start applying the mixture to hair using a hair dye brush .
Application
- Apply the mixture systematically section after section on very thin strands, usually on dry, unwashed hair, but exceptions may apply. Always follow the instructions for use.
- Start applying the bleaching solution from the back of the head in one centimetre partings – this is where the hair is most healthy and the least damaged.
- Then proceed to the front parts and finally to the hair around the face, where the hair is the most damaged and the softest, and therefore lighten the fastest.
- Do not economize on the lightening mixture! Ideally, the hair should be completely covered. Only in this way you can achieve the best and the most even results without stains etc.
- When bleaching the roots, be careful to apply the solution only to the grown out hair, otherwise you may create an unsightly overlapping.
Full Head Application
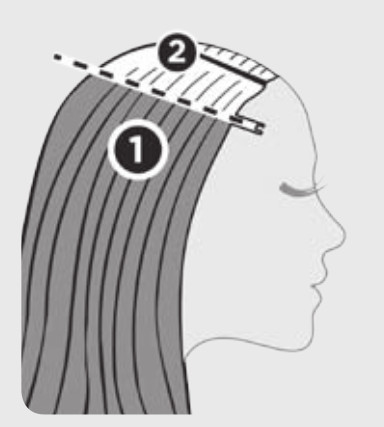
- STEP 1: Apply the colour first to the ends and lengths to a point about 2.5 cm from the skin. The reason is that hair near the skin lightens the fastest. It is because of the heat generated by the head. For this reason, leave this part of hair close to the scalp to the very end. Go from the back side of the head to the front. Leave it on for the defined time.
- STEP 2: Shortly before the end of the application time prepare the same mixture and apply it evenly to the roots, then leave it on for several more minutes.
Root Application
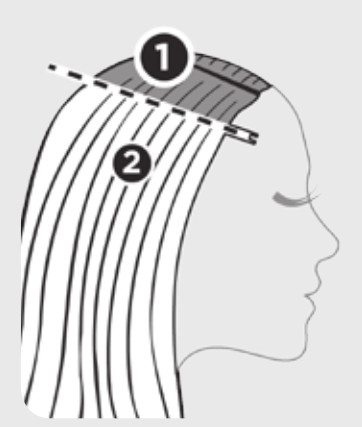
- STEP 1: Apply the mixture only to the roots; be careful not to apply the colour to the already coloured parts. Leave on for the time indicated in the instruction leaflet.
- STEP 2: If necessary, once the application time has passed, wet the hair with water and emulsify the colour to lengths and ends and leave it on for a while. This will naturally mask the overlap between the old and the new colour.
- Tip! Prevent you hair from growing out to much. Repeat the application of bleach as soon as possible, preferably when the roots are maximum 2.5 cm long. In this way, the colour of your hair will look more even.
Development Time
- The application time varies based on the desired level of lift, quality, texture and structure of your hair. It is usually about 30-50 minutes. After this time the prepared mixture loses its lightening effect. Make sure to always follow the instructions for use. Every product can work differently.
- During the application time, check the process regularly (about every 10 minutes), and remember that dry hair will get a tone lighter.
- During the application of the bleach, your head may start itching and you may feel a slight stabbing pain. Don’t worry! A slight burning sensation is absolutely normal.
- Be also aware that anytime you decide to lighten your hair, you will always fight warm tones. It is therefore extremely important to watch the exact time during bleaching. If you wash the colour out too early, it can leave a reddish or yellowish tinge in your hair, as the bleaching process starts from red through yellow to the final blonde (see picture below).
- Do not exceed the development time, even if you do not achieve the desired colour. This is a common thing, especially for people with darker hair or whose hair is more resistant to colouring and bleaching. You will need to perform several applications to reach the desired blond colour.

Rinsing & Care
- After the end of the application time wash your hair with shampoo for damaged hair and apply a suitable hair care product (conditioner, mask etc.).
- Remember: Proper treatment after colouring is crucial for restoring the acidic pH in your hair, so do not skip it.
Last Valuable Tips
- Wait at least 2 weeks between the next colouring service to give your hair time to recover.
- If your hair didn’t get the required colour, you can repeat the bleaching process in two weeks using a smaller amount of a concentrated lightener.
- Be aware that bleached hair is fragile and damaged even in their best condition, so take good care of it.
- Use products specifically designed for blonde hair: violet shampoos, shampoos for blonde hair, conditioners and hair treatments for blonde hair.
- In the following months also avoid using deep cleansing shampoos and anti-dandruff shampoos which tend to remove colour.
- If possible, avoid thermal styling which can damage your hair. If you cannot do without thermal styling, use heat protection products. But remebmer better use a blow-dryer – it is gentler than a hair straighter.
