Do you have no other choice than dye your hair at home but don't know how to proceed? Don't worry, we’ll explain you how to dye your hair properly!
Quarantine lasts for several weeks and gradually begins to take its toll on the beauty of colored hair. Many aren't getting to the hairdresser as coronavirus sweeps the globe. What then to do? If you dare, try to dye your hair at home. Of course we know that professional care in the hairdressing salon cannot be replaced by anything! However, now, in these difficult times, we have no choice but to take the dyeing into our own hands. So, let's do it!
Important! Before dyeing, we recommend reading our previous articles again:
- Types of Professional Hair Colors - Choose Right!
- Hair Color Numbering - Choose the Right Shade!
- How to Choose Right Volume Developer for Hair Color?
- 10 Common Mistakes You're Making When Dyeing Hair
Moreover, all product packaging includes manufacturer’s instructions. Always carefully read and follow manufacturer’s guidelines and instructions and keep it handy during the dyeing process.
Prepare Dyeing Tools
Before you start with dyeing, it's a good idea to check if you have all the necessary hairdressing tools for colouring:
- Hair color + developer (remember that developer for professional colors is always sold separately!)
- Protective gloves and something to protect clothes (old towel/t-shirt)
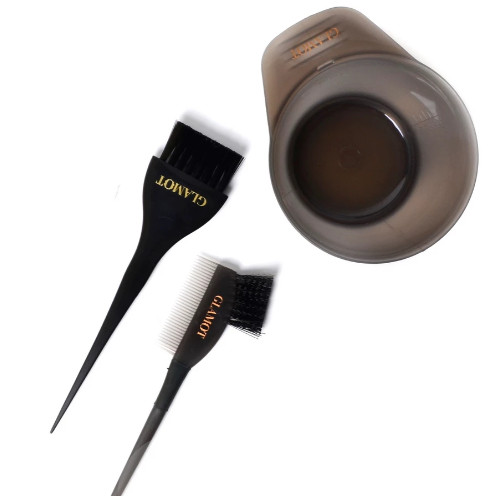
- Mixing bowl and hair dye brush
- Comb for even color distribution
- Watches or kitchen timer
Prepare Hair for Dyeing
- If you are dyeing your hair for the first time, take a sensitivity test at least 48 hours before dyeing.
- Wash your hair 24 to 48 hours before dyeing. Doing this allows the natural oils in your hair to develop which in turn allows the dye to bind to your hair more easily.
- Brush your hair well. This step will make applying the dye easier, but it will also help you to make sure that your hair will be evenly dyed.
- Separate your hair into four sections - from one ear across the top to the other ear, and from the forehead to the occipital area. Clip each section.
- Do not wash or wet your hair. The color is usually applied to dry hair, unless otherwise noted.
- Before application a barrier cream may be used around the hairline to protect the skin on the face and neck.
Application of Hair Color
- First, prepare your desired color. Follow the directions provided on the box.
- Prepare the color according to the manufacturer’s guidelines and start applying hair immediately. Because the mixture is active only a few minutes after mixing (usually max 50 min).
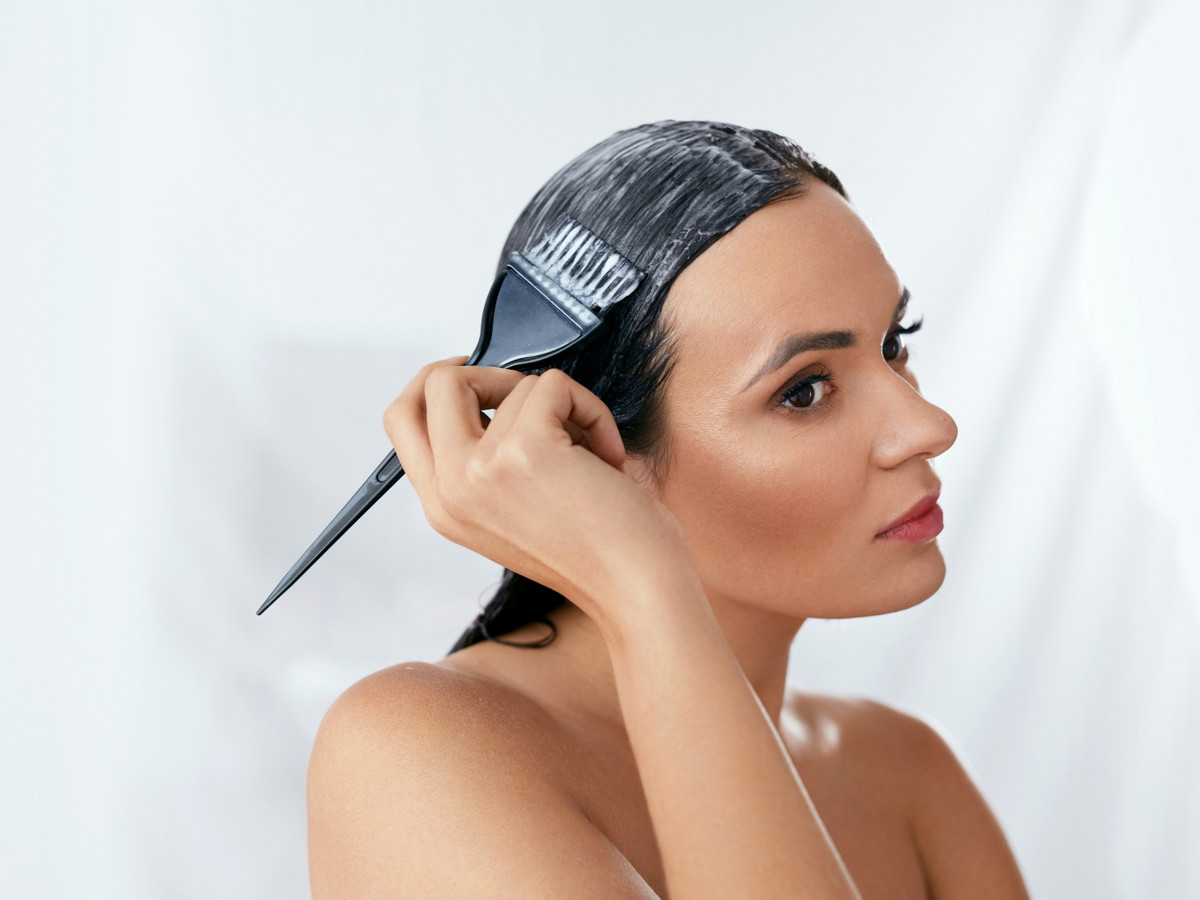
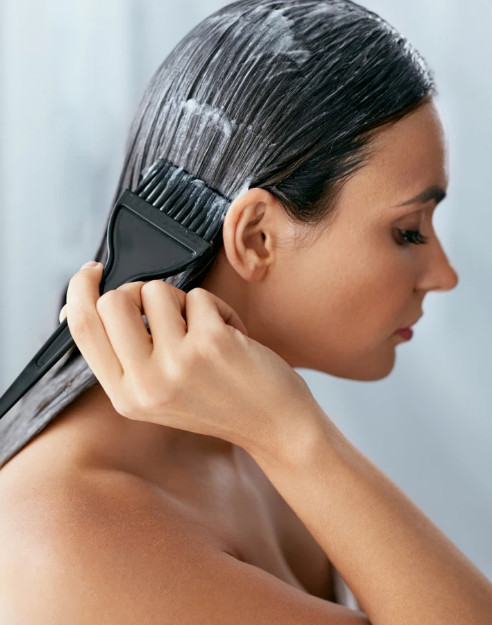
- Apply the hair dye systematically in sections, strand by strand. This is the only way to achieve even color distribution.
- In most cases, start applying color from the bottom section - from the neck, continue at the crown and work your way through to the front hairline. Also, always start with regrowths, then mid-lengths and finally ends.
- But the above rules are different for red shades. These shades wash out faster. Therefore, start dyeing the ends first.
- Gray hair also has an exception to the rule. Apply first at the areas of the highest percentage of grey (usually the front parts of hair around the face).
- After applying the color, comb the hair with a comb to prevent uneven color results.
Hair Dyeing
The method of applying a hair colouring product will vary depending on the desired effect, product used and hair type or whether the hair has been previously coloured or not. Therefore, always precisely follow package instructions for haircolor, lightener and texture products.There are however, general rules:
1) First Time Dyeing (Virgin Hair)
When Darkening
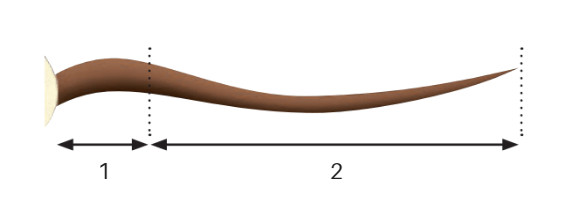
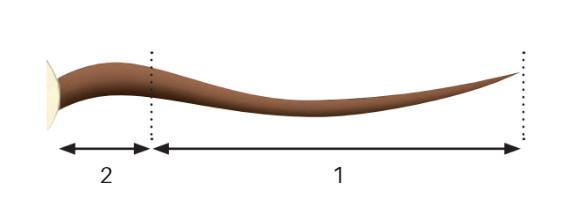
- STEP 1: Start applying dye to the 2cm root area.
- STEP 2: Immediately apply to the lengths and ends and blend through the original application. Process for full development time.
- TIP! If you have sensitive ends, apply the mixture on the ends only for the last few minutes.
When Lightening
- STEP 1: Start applying dye to lengths and ends only (approximately 2cm free from the scalp). This is because hair near the scalp lightenes faster. Develop for recommended time.
- STEP 2: Then apply the mixture to the re-growth. If necessary re-apply to mid-lengths/ends. Develop for the last few minutes of development time.
- STEP 3: If required, after completion of development time, dampen the hair well with water and emulsify the color through the lengths and ends.
- TIP! When lightening apply more of the product than for normal coloring
2) Regrowth Application
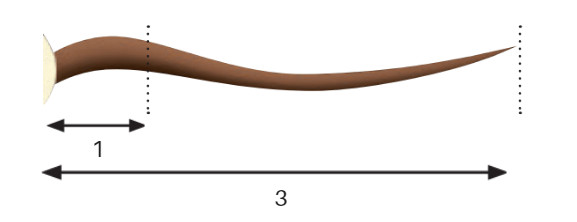
- STEP 1: Start the coloring process at the root area first. Develop for full development time. It is not necessary to dye the lengths if the re-growth is less than 2.5 cm. At the end of the process, only emulsify the color through the lengths and ends.
- STEP 2: Process for recommended time. During this time, check your hair regularly, about every 10 minutes, until the desired color result is achieved. Never exceed the exposure time!
- STEP 3: If necessary add a small amount of warm water to the mixture and apply the mixture through mid-lengths/ends for the last 5-10 minutes of development time. This naturally unifies the transition between old and new colors.
- Notice! Do not let the hair growth too long. Re-growth dyeing is ideal at maximum regrowth of 2.5 cm (after 6 to 7 weeks). Longer regrowth will be more difficult to color.
- If the growth is longer than 5 cm, follow the instructions for first application.
3) Dyeing Grey Hair
Dyeing grey hair is a special chapter. Gray hair has specific characteristics. This hair is more resistant to dyeing and less flexible than hair with a natural pigment. The percentage of gray is critical when dyeing grey hair. In general, if the percentage of grey is higher than 50%, the dyeing has a special procedure.
- Hair Color: The most suitable for dyeing grey hair are permanent or semi-/demi- permanent colors that have a high coverage. There are also special colors for grey and white hair (e.g. Igora Royal Absolutes or Matrix SoColor Extra Coverage).
- Shades: Choose natural shades without fashion reflections that provide perfect grey/white coverage and reliable results. You can identify them by number. These shades have no more numbers (or have zero) after the slash (eg 5 / or 5.0)
- Developer: 20 volume developer (6%) is the most common force of developer for dyeing grey hair. But if the hair is thick and resistant, use 30 volume developer (9%).
- Application: Apply first at the areas of the highest percentage of grey.
- Development time: If you have a lot of grey hair, it’s best to leave the dye in for the maximum amount of time.
Mixing with natural shade:
- 0-25% white hair, mix fashion shade with natural shade in a 2:1 ratio.
- 25-50% white hair, mix fashion shade with natural shade in a 1:1 ratio.
- 50%-100% white hair, mix fashion shade with natural shade in a 1:2 ratio.


