For the perfect blowout you will no longer have to go to the salon. Here are some tips how to get the blowout of your dreams at home.

There’s nothing quite like the feeling of walking out of the salon with a fresh blowout. There’s a magic that occurs in the salon chair that conjures up a bounce and volume that can’t be replicated anywhere else. Or can it?
Salon-worthy blowouts can be achieved at-home with your own hands. Many of us are skeptical of our abilities to achieve the fullness and smoothness, but the process is surprisingly simple. All you need is the right products and a little bit of patience.
Here’s how to get the blowout of your dreams:
Right Preparation - Half of the Success
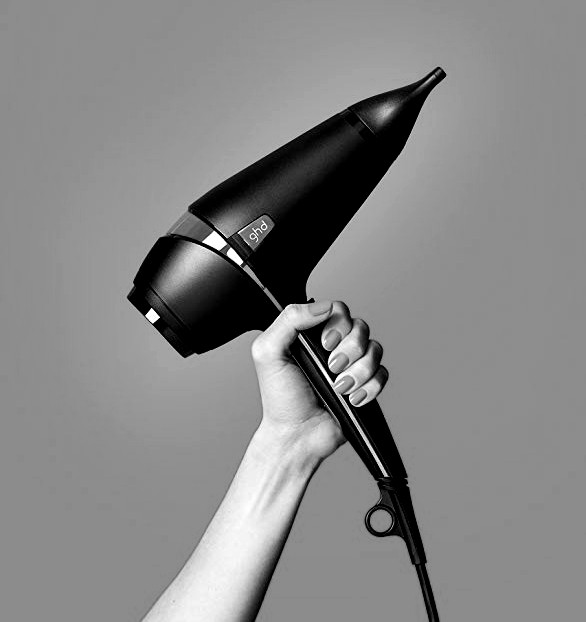
The key of every salon-worthly blowout is a quality hair dryer. How to find out? Find out more in our previous article How to Choose a Hair Dryer that Your Hair Will Fall in Love With? But the game starts even before you take the hairdryer into your hands. Ask any expert and everyone will tell you the same. Without the right styling products you never get the same effect as at the salon.
A successful blow-dry requires good pre-blow-dry prep products. But you have to choose the right ones. Avoid anything that creates a stiff or gummy texture. Rather choose blowout products that hydrate and smooth hair like hair creams, serums or mousses, chosen for your hair type. Sprays to speed up drying are also great if you don't want to spend the long hours in fron of the mirror (eg. Alterna Caviar Satin Style Rapid Blowout Balm or KMS Therma Shape Quick Blow Dry).
Rounded or Flat?
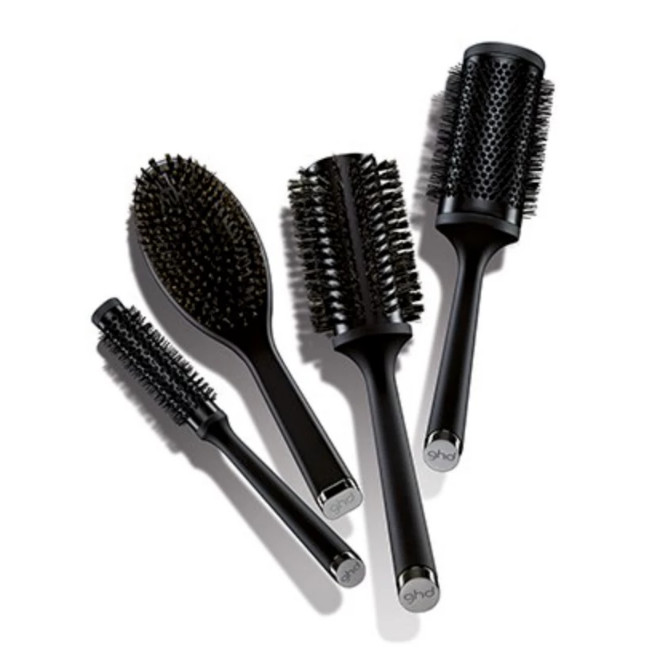
Mistake of beginners? You’re using the wrong brush. Round or flat? It depends on which look you want to achieve:
-
Round brush - Bigger round brush produces a nice lift at the roots, especially on long hair. Smaller round brush is perfect for waves or short hair.
-
Flat brush - It’s great to achieve straightening and smoothing look.
Whatever you choose for any brush, it should be made of natural or antistatic materials.
-
Boar bristles - Provide great grip, but they don't overheat, which prevents dryness or damage. Healthier and more gentle for fine hair.
-
Nylon bristles - More resistant to heat, they are more resistance to excessive blow-drying time, smooth the surface of the hair and add shine.
-
Metal - Conducts heat quickly and speed up your blow-dry, but it could also cause heat damage if your hair is fine or fragile.
-
Ceramic - Provides quick, yet gentle drying with smoothing and anti-frizz effect.

Damp, But Not Wet
Are you drying sopping wet hair? Mistake! Don't start your blowout off on the wrong foot. Instead, let your hair air dry for a while, or remove excess water with a towel. But don’t rub your hair with towel as that will create frizz. Pros recommend waiting until your hair is 60-80% dry before beginning your round brush-and-blow-dryer blowout. Also do not brush wet hair, just comb with special wet detangler (eg. Tangle Teezer Wet Detangling) and use your favourite leave-in conditioner before.
Too Hot Air Damages Hair
Everyone knows that heat styling damages hair. But heat is essential to lock own the surface of the hair and produce the smoothness. Most stylists swear by a “low air, medium heat” approach to blow drying hair. Although it will take a little longer, you will make your hair happier. Do not forget to treat your hair with a thermal products that protect hair from excessive heat.
And also do not hold the hair dryer too close to your hair. If you feel your scalp burning, know that your hair is probably burning, too. As a rule of thumb, it’s best to hold the blow dryer about 15 cm (6”) from your head. That's why it's good to learn the right technique of blow-drying.

No Hasty Movements
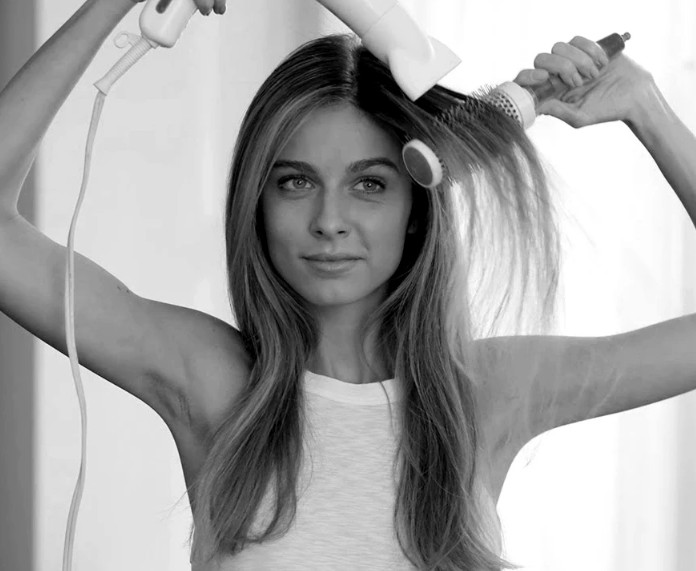
Do you move a hairdryer wildly from side to side? That's wrong! A great blow-dry hairstyle can’t be accelerated. To achieve silky, shiny, volumizing hair--especially if you have curly hair or a long hairstyle-you have to dry your hair in small sections, carefully and methodically, bottom, then sides, then top. This ensures every section of hair is finished to perfection. Take your time and you’ll be much happier with your hairstyle in the end!
However, if you have a fringe or other places that dry faster, we recommend starting with them. As soon as your hair is dry, you’ll not do anything with them. Dry hair isn’t well-moldable and styleable.
A direction depends
Proper blowing also means that you dry your hair in the in the direction of the hair cuticles. Always direct the blow-dryer from the roots to the ends. Never otherwise! This ensures that your hair will be smooth and radiant. Reducing the air speed also prevents you from blowing your hair all around, which will essentially cancel out the hair smoothing benefits of a proper blow-dry.

To Dryness, But Without Over-Drying
Are you doing all of the previous steps, but your blowout looks flat? Do you wonder what you're doing wrong? Maybe, you’re not drying your hair completely. This is possibly mistake numero uno for most blow-dry beginner. Any section of hair that remains damp is susceptible to curling, waving or frizzing. So, that tiny section of hair at your neck that you just skipped over? Go back and make sure it’s dry!
But don’t fry your hair! Even though it’s important to dry every section of hair completely, over-drying hair never look nice and healthy. Moreover, it would be very brittle then and prone to damage. Also keep in mind that the ends of your long hair are a lot older, and therefore more stressed, than the roots and mid-sections. But how to recognize the well-dried hair? You recognize it according to the hair structure. The hair should by soft and smooth to the touch but no rough or frizzy.
Complete the Blow-Drying Process Properly
Do you forget the cold air shot? Maybe it does not look, but this button is very important. Once your hair is dry, refrain from touching it until it’s completely cool. Cold air fixes your hairstyle, locks hair cuticles and protects hair from curling and frizzing. This ensures that your blowout will last much longer.
How to use cold air properly? Stylists recommend to press the cool shot button at the moment when your hair is about 90% dry, either with each strand separately, if you are drying through a brush or at the end of the process.
Video Tutorial: Add Volume & Lift to Your Look
This is perfect way to dry hair without volume. Pros recommend: Then as you dry each section, flip the hair in the opposite direction from which it will eventually lie. Let each section cool completely before flipping it back. Do this throughout the top sections, and your long hairstyle will be much bouncier.
Video Tutorial: How to Get Soft, Smooth Hair
This is perfect way to dry curly and wavy hair. Stylists recommend: Place the brush in a section of hair, stretch the hair, dry and then hold the section taut for a few seconds before releasing it. This allows the hair to “set” and prevents you from having to go over the section repeatedly in order to smooth out the curl.
Summary
- Always treat your hair with a heat protectant formula prior to blow drying
- Blow-dry slowly and methodically, start at a medium temperature and low speed
- For a smooth effect, always point the nozzle in the direction from roots to ends
- Hold the hair dryer at a distance of about 15 cm from the hair
- Blow-dry hair completely to prevents curling and frizzing
- Be careful of over-drying and don't stay long in one place
- Do not forget the cold air shot, which fixes hairstyle and prevents frizz


